|
|
|
|
|
|
|
kNow Boundaries |
|
| The following sample workflow demonstrates and describes the general steps and process in a "typical" visualization job. The job presented is by no means absolute and is meant to show the general steps and procedures involved for this particular job. The example is one of many interior renderings for a Manhattan Penthouse Apartment produced for a Chicago Area Designer. Sketches, descriptions and material samples where provided by the Designer.
Other types of projects will vary depending on the style and environment. Exterior renderings will be similar with less detail but with various additional items such as trees and cars. Legal court exhibits have to be very accurate and usually have greater detail and require a great many revisions and views.
|
|
|
 |
|
|
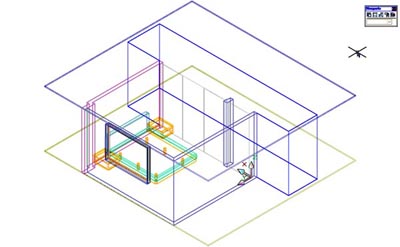
| 1. Drawings, sketches, CAD files, photographs, and detailed descriptions are obtained from the client / design professional and a preliminary wireframe and layout is created for approval. Type and style of rendering for final output and level of detail discussed and determined with client during this phase. Proposal is presented for client acceptance at or before this phase. Proposal includes scope of work and pricing. |
|
 |
|
|
| 2. Camera views and arrangement of main model items are created and reviewed. Additional modeling and items are considered per scope of work. |
|
 |
|
|
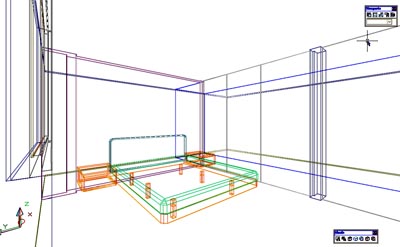
| 3. Final camera view(s) selected and final major items modeled. Lighting and atmosphere of rendering discussed.....daylight, night shot, exterior lighting, artificial lighting types |
|
 |
|
|
| 4. Basic massing model created to further visualize the space. Space is still in a very raw format and is missing materials, texture and lighting. Assembling of materials and textures begins. |
|
 |
|
|
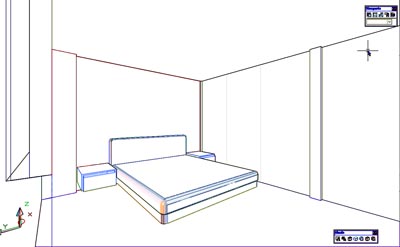
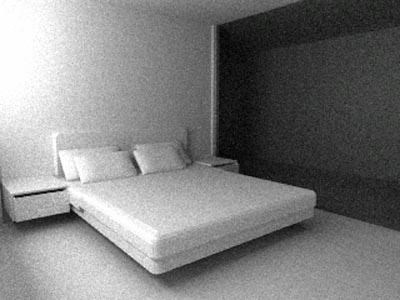
| 5. Quick massing rendering without any materials created. Lighting is very basic. Shadows and some material properties are added ...such as glass transparency. The space starts to take form. |
|
 |
|
|
| 6. Additional lighting added and light types adjusted. Shadows are adjusted to suit space. Final materials and textures are assembled and are prepared for application. |
|
 |
|
|
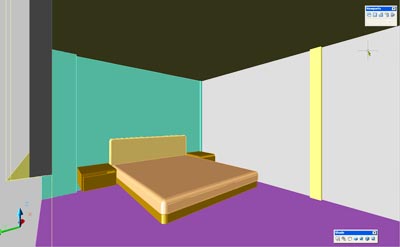
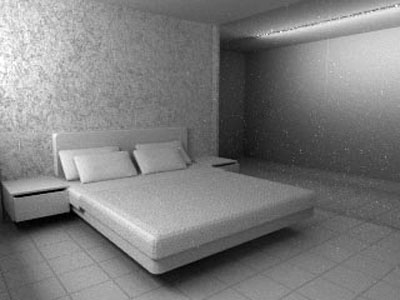
| 7. Textures with lighting applied |
|
 |
 |
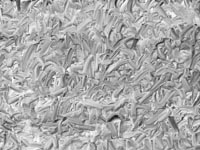
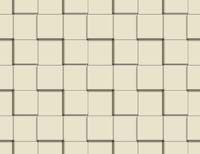
8. Final selection of materials and textures. Material are then prepared for applications. All materials are created from scratch, scanned from samples provided or photographed from the environment around us.
Venetian Plaster Material and Bump Map
|
|
 |
 |
|
|
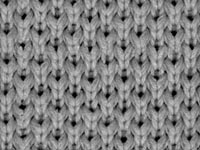
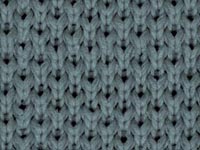
| Bedspread Material and Bump Map |
|
|
 |
|
|
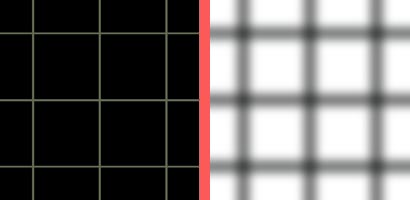
| Leather Flooring Material and Bump Map |
|
 |
 |
|
|
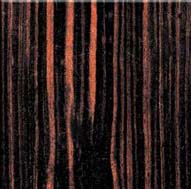
| Madagascar Ebony Material and Headboard Weave |
|
 |
|
|
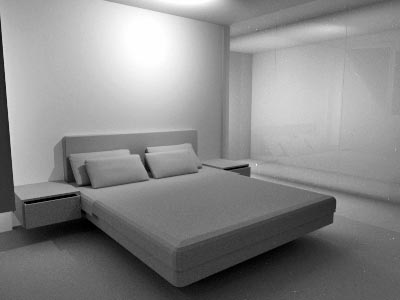
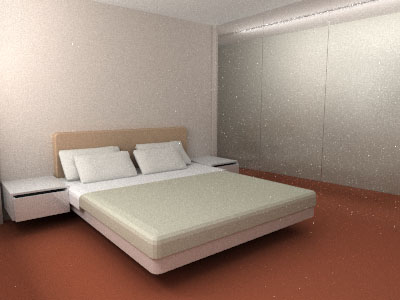
| 9. Color study without textures and with final lighting in place. |
|
 |
|
|
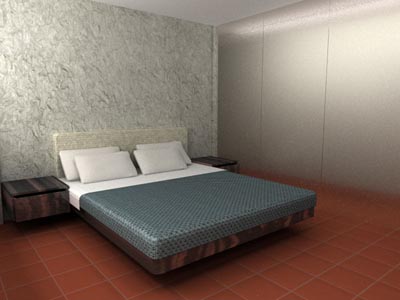
| 10. Final rendering presented to and accepted by client. Final prsentation format was glossy photo paper 13"x19" board mounted with additional 8x10 glossy photos. |
|
|
|
|
|
|
|
|
|
|
|
|
|
|
|
|
|

